
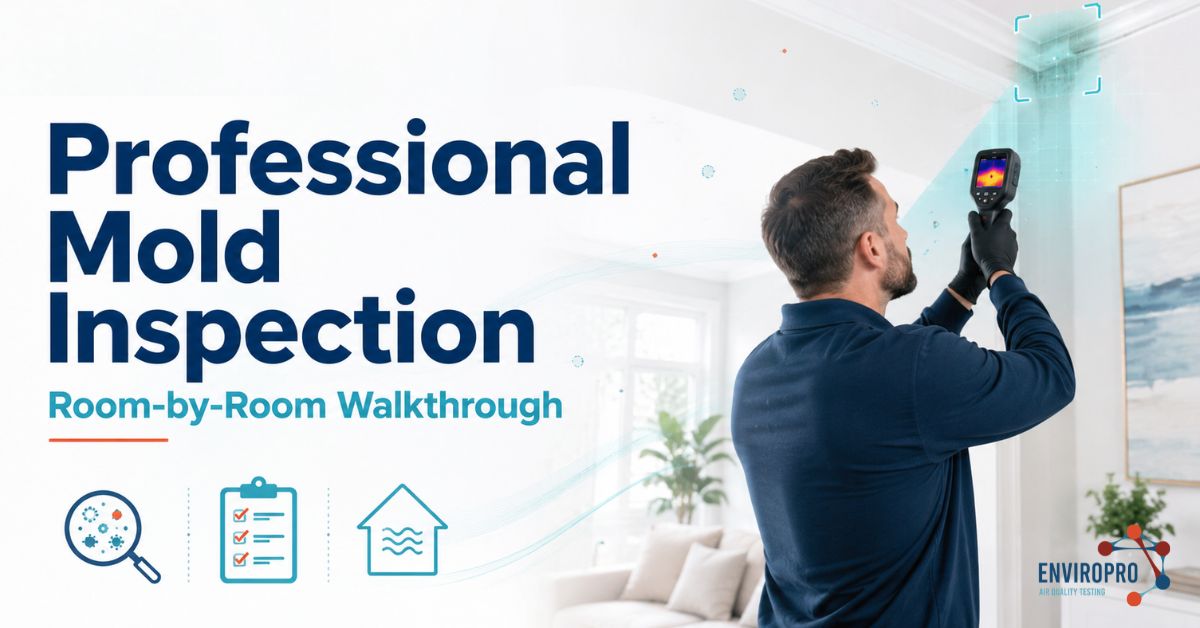
A professional mold inspection is a structured visit where a trained inspector looks for visible mold and moisture, measures humidity and damp spots with specialized tools, and collects air or surface samples that go to an accredited lab. You get back a written report that says what was found, where, how serious it is, and what to do next. Most home visits take one to three hours, and lab results usually follow within a day or two.
If you’ve noticed a musty smell, leaks, or just want a straight answer about your indoor air, that’s the short version of what you’re paying for. The rest of this guide walks through each step the way it actually unfolds and points out a few things you won’t hear from anyone trying to sell you remediation.
Why People Book a Mold Inspection in the First Place
Most folks don’t wake up wanting one. Something prompts it.
The usual triggers are a lingering musty odor, a recent plumbing or roof leak, visible staining on drywall or ceilings, allergy-type symptoms that ease when you leave the house, or a real estate deal where a buyer or lender wants peace of mind. Landlords and tenants also call when there’s a disagreement about whether a unit is safe.
Here in the Las Vegas valley, the desert climate fools people. Ambient humidity is low, so many assume mold can’t take hold. But air-conditioning condensation, slab leaks, swamp coolers, and slow drips under sinks create damp pockets indoors regardless of what the weather does outside. Mold doesn’t need a rainy climate; it needs a wet spot and time.
In short, A mold inspection is worth booking when you have a moisture event, a smell, visible growth, health concerns, or a transaction that calls for documentation.
How Do You Prepare for a Mold Inspection?
A little prep makes the results more accurate. The goal is to leave your indoor air in its natural state so the samples reflect reality, not a freshly cleaned snapshot.
Here’s a simple checklist for the day before:
- Close windows and exterior doors for about 12–24 hours beforehand so spores aren’t blown around or diluted.
- Leave cleaning alone for a couple of days. Skip heavy vacuuming, bleaching, or wiping suspected spots. Scrubbing away evidence makes testing less useful.
- Turn off air purifiers and dehumidifiers for a day; they strip the very particles being measured.
- Hold off on running the AC hard right before the visit if your inspector asks, since circulation can dilute readings (confirm their preference when you book).
- Clear access to under-sink cabinets, closets, the water heater, the attic hatch, and any area near past leaks. Move boxes off the walls.
- Write down the history. Old leaks, roof repairs, a bathroom fan that never worked, the corner that smells after you shower, these clues tell the inspector where to look first.
Expert tip: Don’t bleach a suspicious patch the night before “to be safe.” It doesn’t remove the underlying moisture problem, and it can hide the exact thing you’re paying to identify.
In short: Keep things sealed and undisturbed for a day or so, clear access, and have your home’s leak history ready.
What Happens During a Professional Mold Inspection, Step by Step
Once the inspector arrives, the visit generally follows the same arc. Knowing the order helps you follow along and ask better questions.
Step 1: The Conversation
It starts with a chat, not a tool. A good inspector asks what you’ve noticed, when it started, and what’s changed. This is where your leak history and symptom notes earn their keep; they shape the whole inspection.
Step 2: The Visual Assessment
Next comes a methodical walk-through, inside and out. The inspector looks for discoloration, staining, bubbling paint, warped trim, peeling wallpaper, condensation on windows, and any fuzzy or speckled growth. High-risk zones get extra attention: bathrooms, kitchens, laundry areas, closets on exterior walls, attics, and anywhere plumbing runs.
This stage matters more than people expect. Visible clues and moisture patterns decide whether and where sampling even happens.
Step 3: Moisture and Thermal Readings
Now the tools come out. A moisture meter measures how much water building materials are holding. High readings hint at a hidden leak or saturated drywall. A thermal imaging camera spots temperature differences that can reveal damp insulation or an active drip behind a wall. For tight spaces, an endoscopic (borescope) camera peeks inside wall cavities and ducts without cutting holes.
Together, these build a moisture “map” of the home, showing whether water is coming from the roof, condensation, or plumbing.
Step 4: Air and Surface Sampling
If the evidence warrants it, samples are collected. Air sample testing pulls a measured volume of air through a cassette that traps spores for the lab to count and identify. Surface sample testing uses a swab or tape lift on a stain to confirm whether it’s actually mold versus dust or soot.
Reputable inspectors sample strategically based on what they found rather than blanketing every room to pad the invoice.
Step 5: The Outdoor Baseline
Spores exist everywhere, including healthy homes. So the inspector takes an outdoor control sample to establish what’s “normal” for your surroundings that day. Your indoor counts are then judged against that indoor vs. outdoor spore comparison, not against zero.
In short: Talk, then look, then measure moisture, then sample only where it’s justified, always against an outdoor baseline.
The Tools, Explained Without the Jargon
Each instrument answers a specific question. Here’s a plain-language guide.
|
Tool |
What it does |
What it answers |
|
Moisture meter |
Reads water content in walls, floors, and ceilings |
“Is this material wetter than it should be?” |
|
Thermal imaging camera |
Shows temperature differences behind surfaces |
“Is there a hidden damp or leaking area?” |
|
Endoscopic camera |
Sends a small camera into cavities and ducts |
“What’s going on inside the wall without opening it?” |
|
Air sampling cassette |
Captures airborne spores onto a slide |
“How many and what kinds of spores are in the air?” |
|
Surface swab/tape lift |
Lifts a sample from a visible spot |
“Is this stain mold, and which species?” |
A thermal camera doesn’t “see mold,” by the way it sees temperature. The inspector interprets that pattern alongside moisture readings. The skill is in connecting the dots, not in any single gadget.
What the Lab Does and How Long Results Take
Samples travel to an accredited laboratory under a documented chain of custody labeled, sealed, and dated so the results hold up.
Technicians examine the samples under a microscope, identify the mold types present (common ones include Cladosporium, Aspergillus, and Penicillium), and report quantities of spores per cubic meter for air, or coverage for surfaces. Turnaround is usually 24 to 72 hours, sometimes faster for standard samples.
A few species matter more than others. Stachybotrys chartarum, what people loosely call “black mold,” needs persistent moisture, so finding it usually points to a real water problem rather than a passing event.
In short: An accredited lab counts and identifies the spores; expect results in roughly one to three days.
How to Read Your Mold Inspection Report
This is the part competitors tend to skip, and it’s the part you actually paid for. A clear mold inspection report should translate the data, not just dump it on you.
Look for these elements:
- A summary of visual findings with photos of affected areas.
- Moisture meter readings and humidity measurements.
- Lab results showing spore types and counts.
- The indoor-versus-outdoor comparison, spelled out.
- A noted likely cause (for example, AC condensation or a roof leak).
- Recommendations and next steps in plain English.
The single most important idea: one number rarely tells the story. Mold is everywhere at low levels. What flags a problem is indoor counts meaningfully higher than outdoor, or a moisture-loving species that shouldn’t be thriving indoors. If a report just shows a scary-looking figure with no context, ask for the interpretation.
Expert tip: Before you sign off, ask your inspector to point to the line in the report that justifies any recommendation. “Elevated” should always come with a why and a where.
When You Might Not Need a Professional Inspection
Honest answer: not every situation calls for paid testing.
If you can already see a small patch of mold around a tub or window, you know the source (everyday shower moisture), and it’s under roughly a square foot, you may be able to clean it yourself and improve ventilation, no lab needed. Testing in that case mostly confirms what you already see.
A professional inspection earns its cost when:
- Mold is suspected but hidden behind walls or under floors.
- There’s been water damage, and you need to know how far it has spread.
- Someone in the home has unexplained respiratory symptoms.
- You’re buying, selling, or renting and need documentation.
- You need post-remediation verification testing to confirm a cleanup actually worked.
That last one matters: testing and remediation are different jobs. The company that confirms whether mold exists ideally shouldn’t be the same one paid to remove it; keeping those roles separate avoids a built-in incentive to find problems.
In short: Visible, small, obvious-source mold may be a DIY clean. Hidden, health-related, post-leak, or transaction situations are where testing pays off.
What This Looks Like With Enviropro
For homeowners and businesses across Las Vegas, Nevada, the team at Enviropro Mold & Mycotoxin Testing follows this same evidence-first approach: a real conversation about your concerns, a careful visual walk-through, moisture and thermal readings, strategic air and surface sampling, and accredited lab analysis finished with a report written in language you can actually use.
The focus is straightforward answers, not pressure. No fear-based sales pitch, no upselling a cleanup you may not need, and transparent pricing before anything is scheduled. If testing shows you don’t have a problem, that’s a perfectly good result to hear.
Frequently Asked Questions
Most residential visits run one to three hours, depending on the size of the property and how much visible mold or moisture turns up. Larger or more complex homes take longer.
Typically, 24 to 72 hours after the lab receives the samples, though standard air samples can sometimes come back the same day.
No. A standard inspection is non-invasive. Tools like thermal cameras and borescopes let an inspector check behind surfaces without cutting holes in most cases.
Testing identifies whether mold is present, what type, and why. Remediation is the physical removal and cleanup. They're separate services, and it's healthier to keep the two in different hands.
Sometimes. If a moisture-loving species shows up indoors, or there's clear water damage, the source still needs fixing even when overall counts look modest. Context beats a single number.
Not always. A small, visible patch with an obvious cause can often be cleaned and ventilated yourself. Testing helps most when mold is hidden, widespread, or tied to health or property concerns.
It's a follow-up inspection after a cleanup to confirm that moisture is resolved and spore levels have returned to normal to prove the work succeeded.
A professional mold inspection removes the guesswork: an inspector talks through your concerns, looks for visible and hidden moisture, samples only where the evidence leads, and hands you a report you can act on. The real value isn’t the gadgets, it’s the honest interpretation of what’s actually happening in your home.
If you’re dealing with a musty smell, a past leak, or just want certainty about your indoor air, that’s exactly the kind of clear answer worth getting.
